


Portfolio is a longer version of Resume, but some people make it like a website to show their creativity and skills. Recently I made and deployed my portfolio website under my domain https://itsrakesh.co. I got so much appreciation and amazing feedback for this. So in this blog, I am sharing how I made it, the things I learned throughout building it, challenges I ran into and I will explain how all the things are connected. I also give you some great resources to create a profile.
Now, there are lots of tools out there to generate a portfolio website for you. But I decided to build myself to practice my skills and to make it more customizable.
Let's get started
Before we start
- Code is available on Github. (Star it - Fork it - Use it)
Tools, technologies, frameworks, libraries
- Common tools are listed here.
- Language - JavaScript
- Frontend - ReactJs, Bootstrap, Sass
- Backend(RESTApi) - NodeJs, ExpressJs
- Hosting - Netlify, Heroku
- Third-party APIs - Dev
- A bunch of npm packages
File Structure
Frontend
If you like this structure, I created a template. You can use it to quickly set up your project.
Portfolio/
├── public
└── src/
    ├── assets/
    │   ├── documents
    │   └── images
    ├── common/
    │   └── components/
    │       ├── Footer
    │       ├── Navigation
    │       ├── UIElements/
    │       │   └── loadingAnimations
    │       ├── hooks
    │       └── util
    ├── features/
    │   └── ProfileRedirect
    └── pages/
        ├── 404
        ├── About/
        │   └── components
        ├── Blogs/
        │   └── components
        ├── Contact/
        │   └── components
        ├── Home/
        │   └── components
        ├── Profiles
        └── Work/
            ├── components
            └── projects
Backend
This website doesn't have a big backend because there is not much business logic involved in this.
Server/
└── src/
    ├── controllers/
    ├── data/
    ├── routes/
    ├── services/
    └── util/
I am breaking this blog to separate parts where each part is a page of the website. The website contains 6 pages-
All pages have the same navbar and footer.
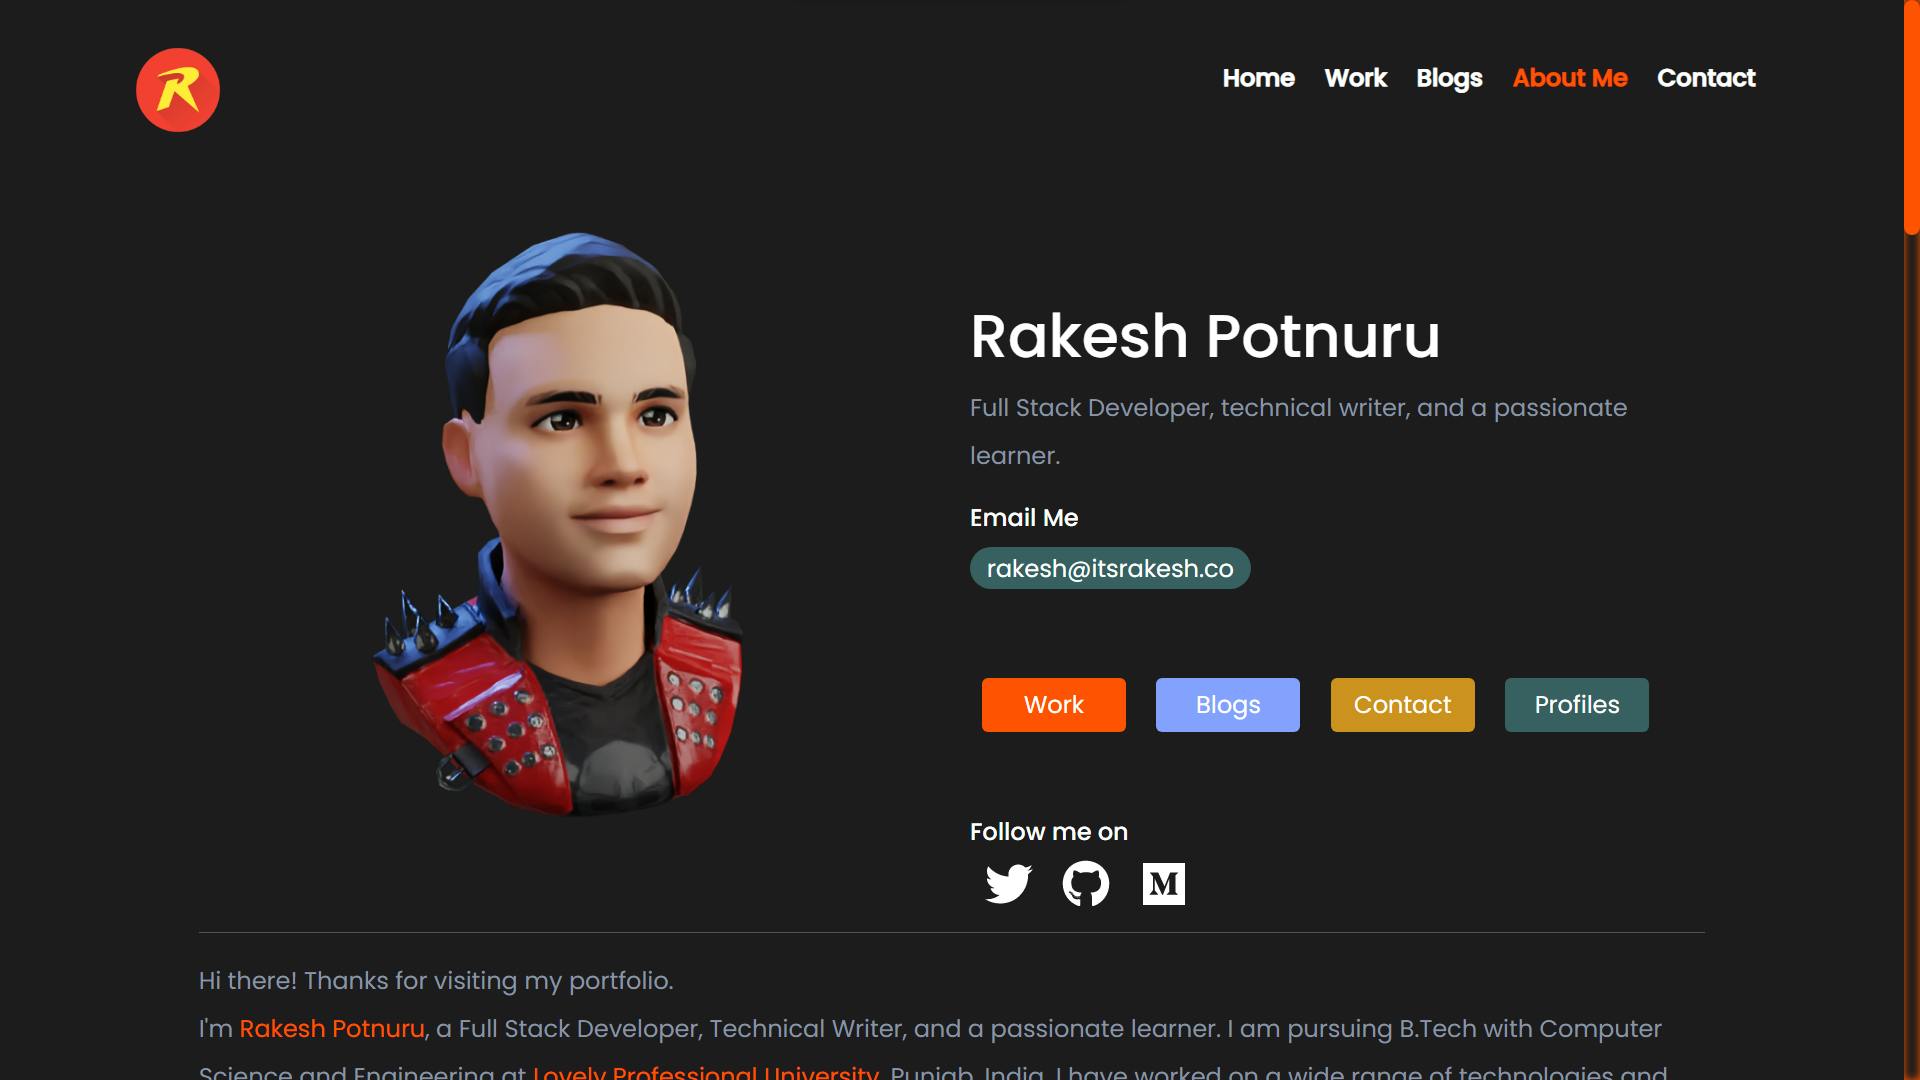
Part 1 - Home Page #
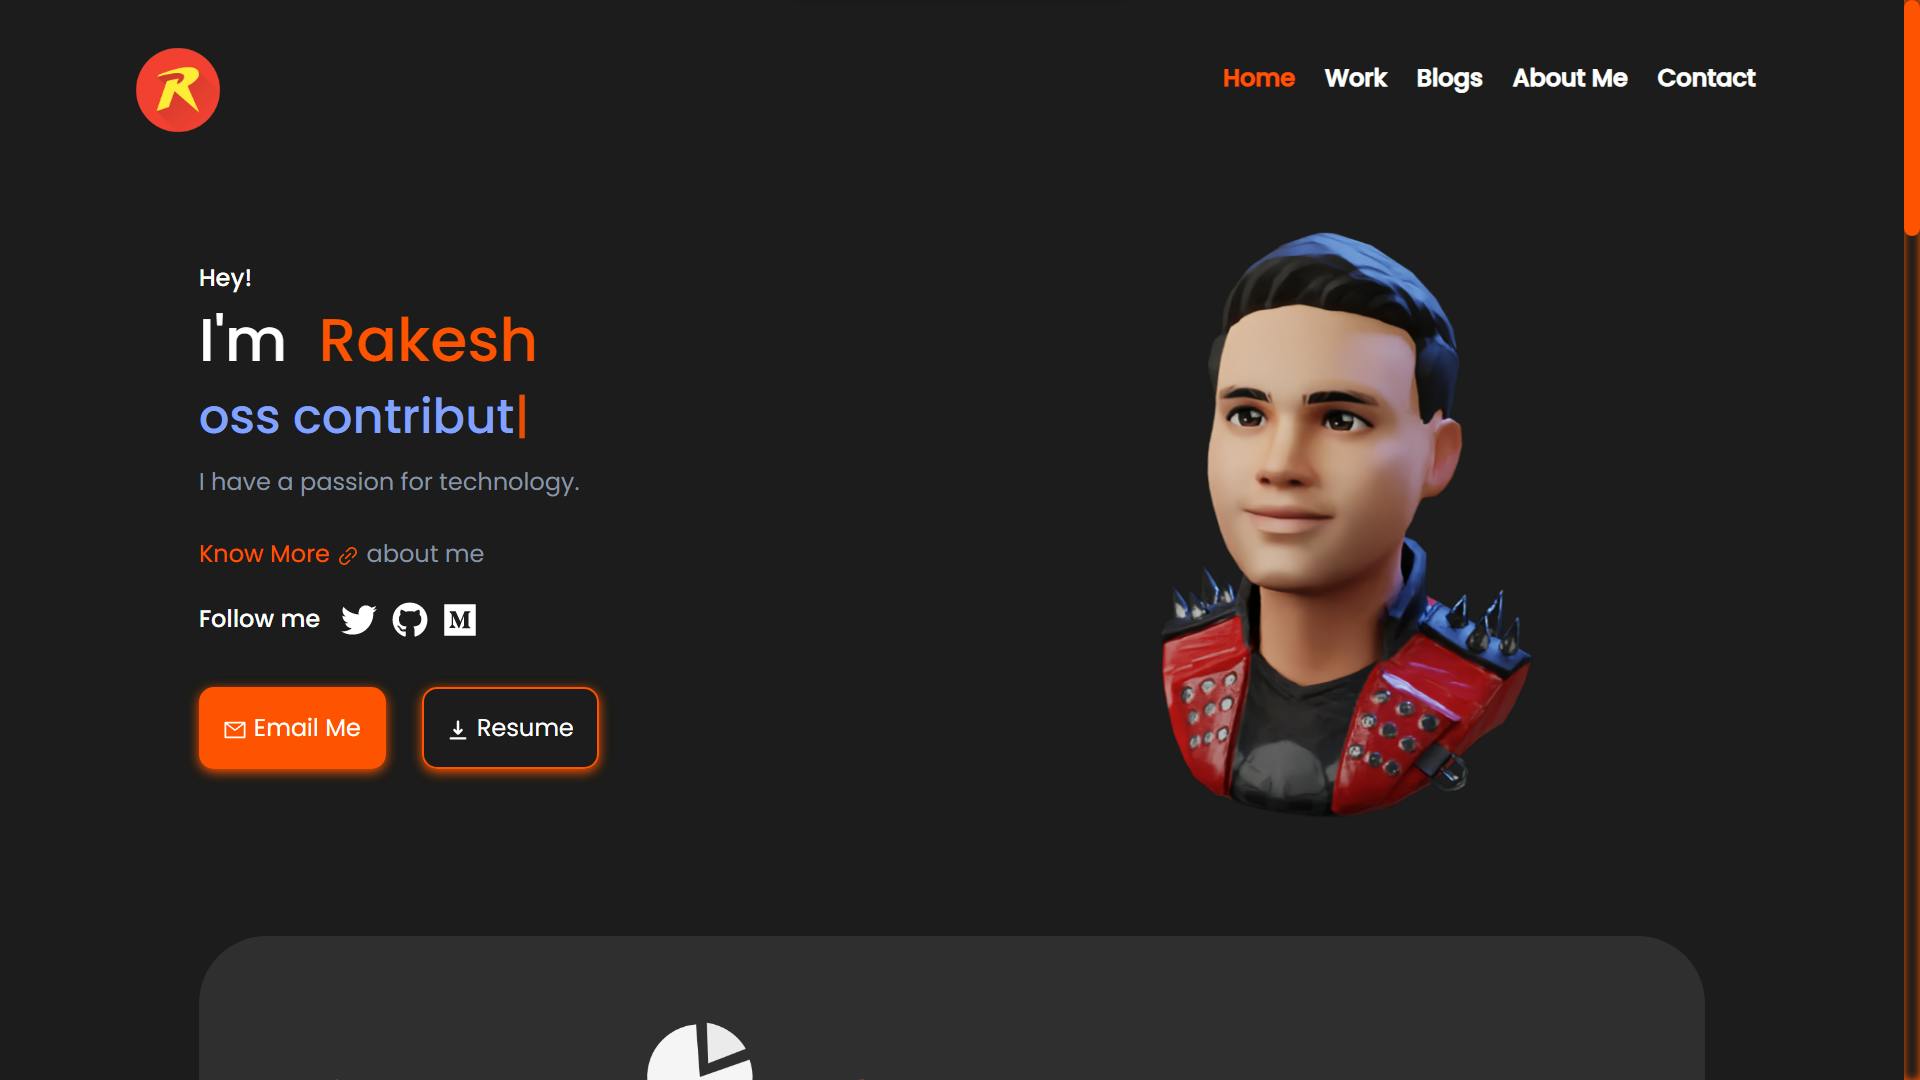
The home page is a quick overview of the whole website. It contains a quick intro about me, a few social links, an email, and a resume button. And different sections - 2 recent projects, why hire me and CTA. That 3d NFT on the hero section is generated from this website called "readyplayer.me".
Part 2 - Work Page #
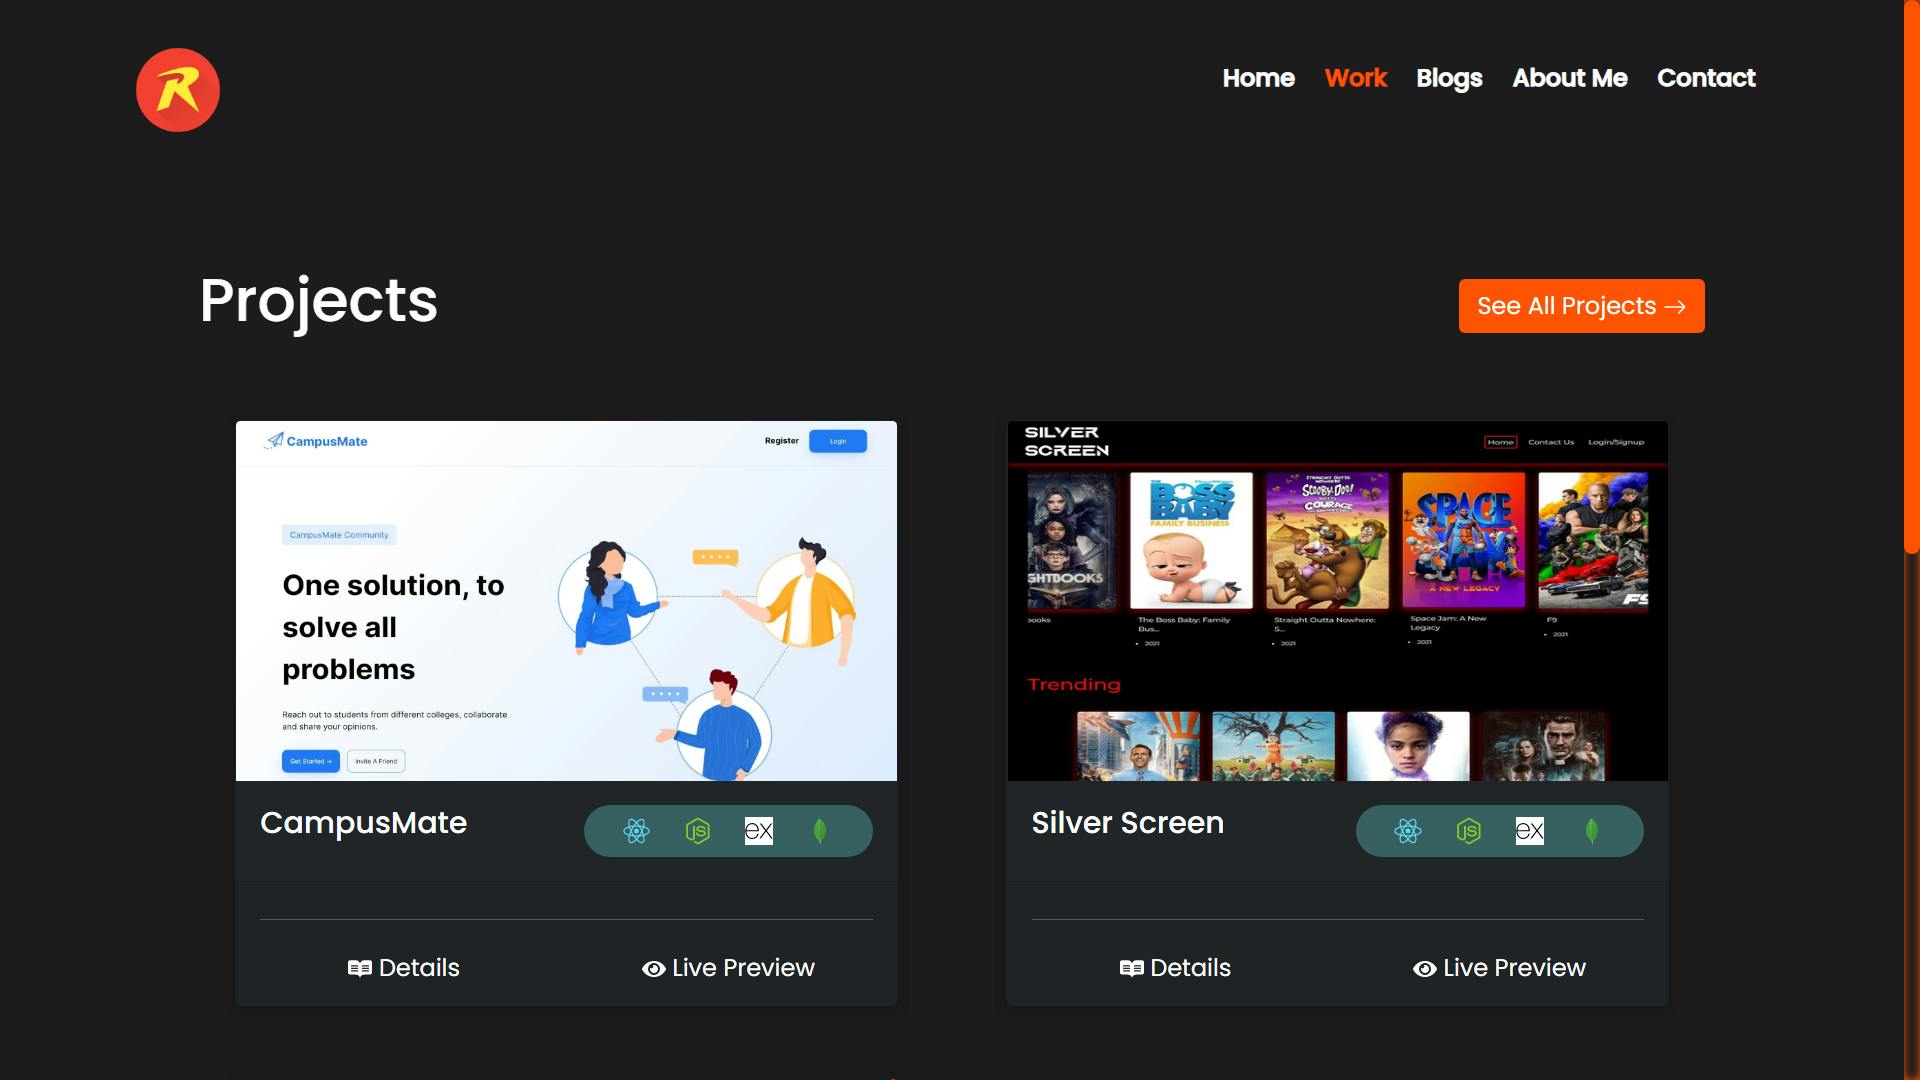
The work page is an overview of what I do. Currently, it has only a projects section but I'm thinking to add more.
Projects page #
Projects page contains cards. Each card contains the project photo, title, tech stack, link to the details page, and link to the live preview.
Project Details page
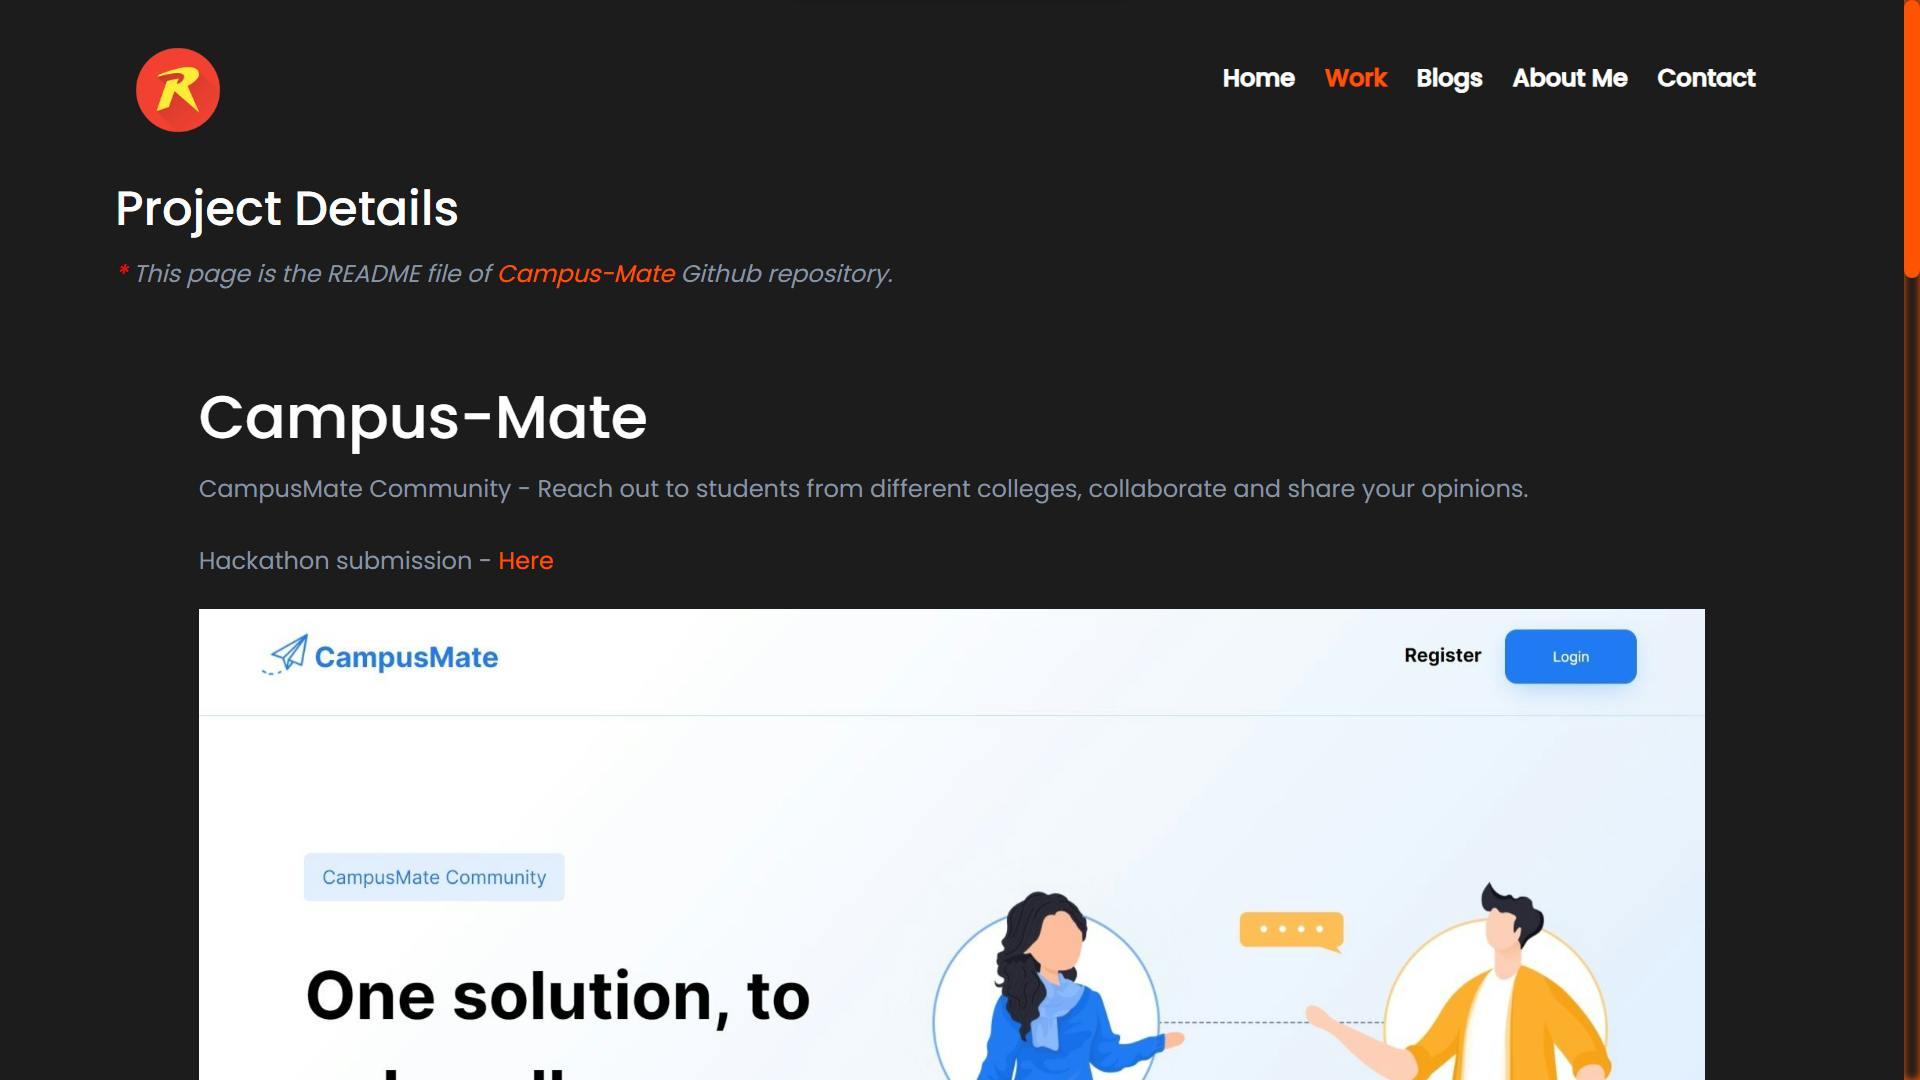
Project details page is a markdown file and rendered as HTML. For this, I use an npm package called markdown-to-jsx. Markdown file is Github README.md of respective project's repo. This is a simple trick.
...
const [readme, setReadme] = useState("");
...
// getting the README URL
...
const response = await axios.get(
      `https://raw.githubusercontent.com/RakeshPotnuru/${repoName}/${
          'master' || 'main'
   }/README.md`
);
setReadme(response.data);
...
// render markdown
...
<div className="project-item">
      <Markdown children={readme} />
</div>
...
Part 3 - Blogs page #
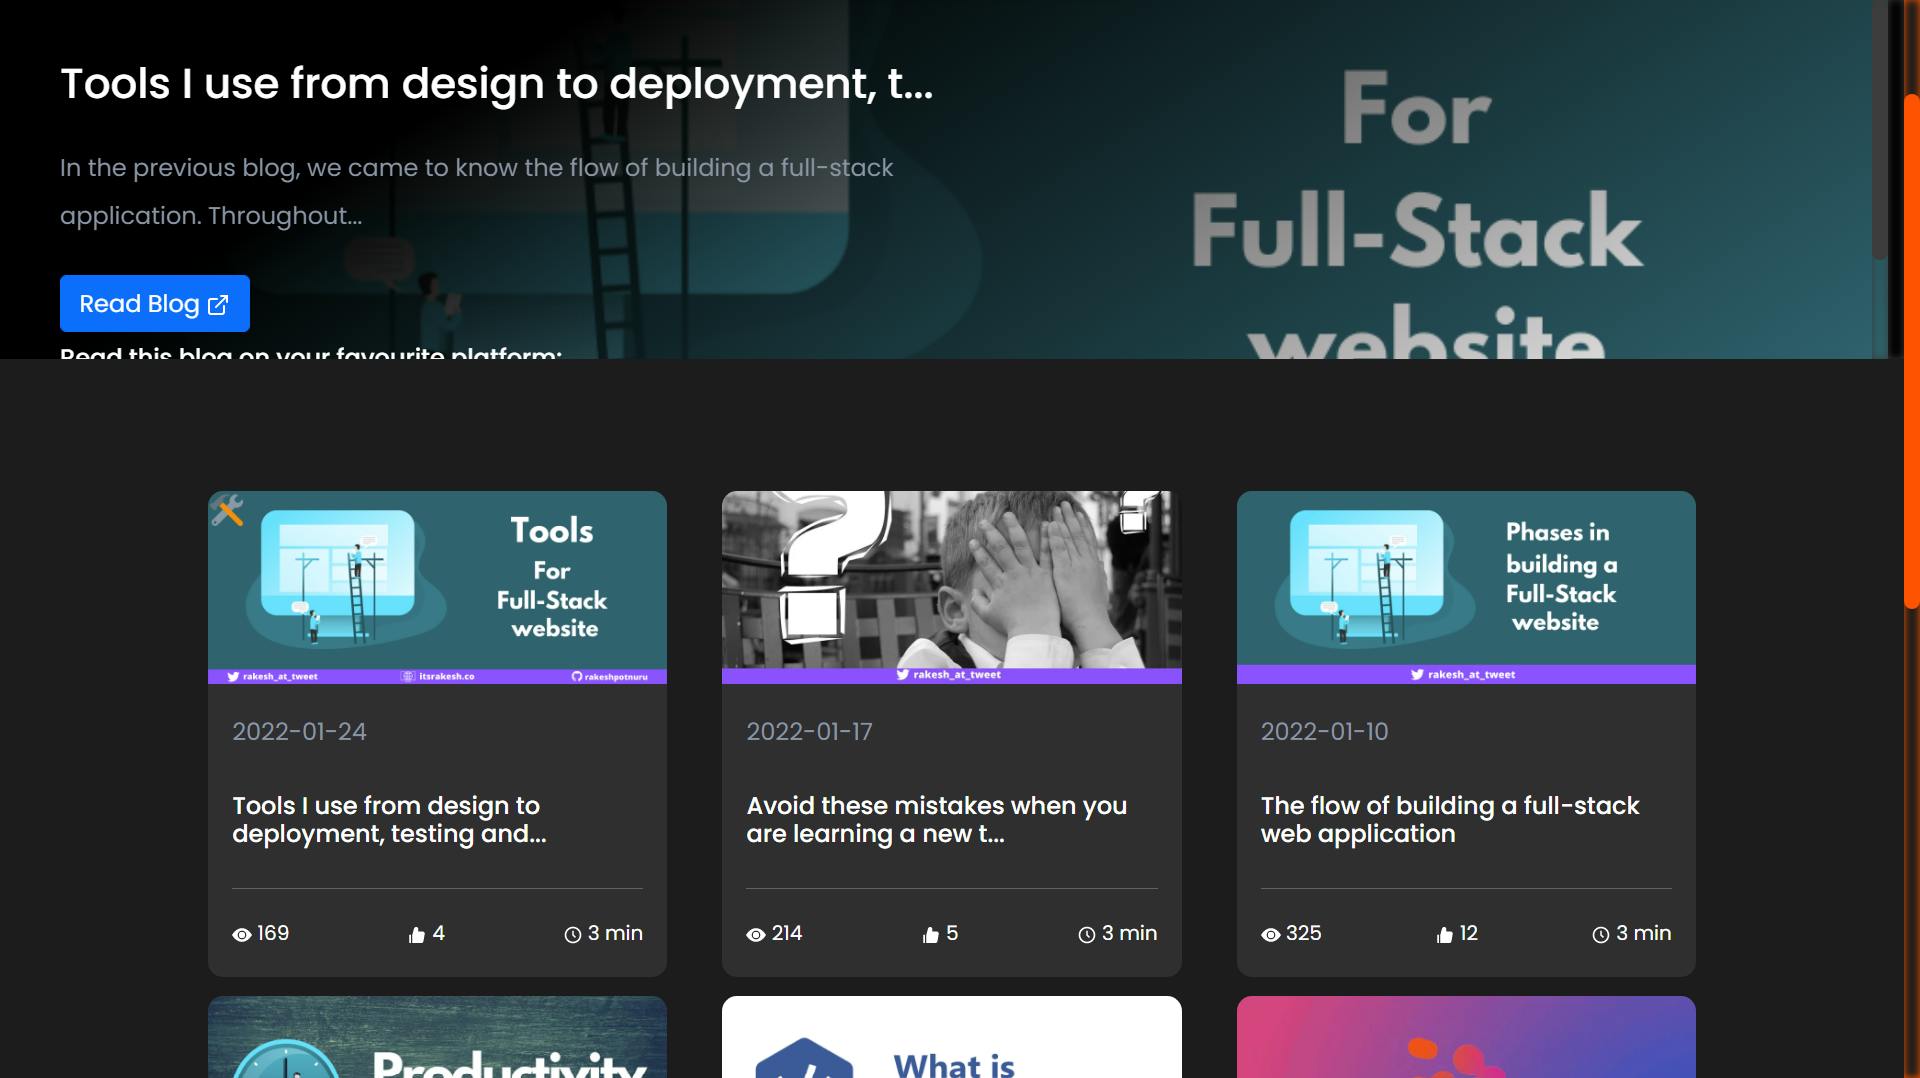
Blogs page is my favorite page. I took small inspiration from the amazon prime video TV app 😂. Why that preview? - I cross-post my articles on three platforms - Dev, Hashnode, and medium because everyone read articles on their favorite platform. So this idea of showing a preview is to include those three links and show a small part of the blog.
How does this work? - I used Dev API to pull the blogs from dev. Each blog contains data that includes the cover image, title, description, reactions, views, read time, publication date, etc. With this data, I made a card. That data also contains the blog URL and the canonical link. So the "Read Blog" URL is the canonical URL, the "dev" URL is the blog URL, and still can't figure out the "medium" URL ☹️ because medium adds "id" at the end of the URL(Current all blogs redirect to my medium profile page). To conclude, everything on this page is automated and I don't need to upload any data to the database.
Part 4 - About Me Page #
About Me page is a brief overview of everything about me. It contains some quick links, a Github contributions graph, blog analytics, tools I use, languages, frameworks I know, my skills (Need to remove that percentage bar), and my achievements.
For the Github contributions graph, I used an npm package called github-calendar-graph.
Part 5 - Contact Form Page #

Contact page contains a simple form for people to leave a quick message to me.
How does this form work? - I used "nodemailer" to send emails with NodeJs and "sendgrid" as a mail service. So whenever a user clicks "Send Message" I send mail to myself that contains the user message :). (Please don't spam I have a monthly limit as part of the free plan :(. )
Part 6 - Profiles Page #
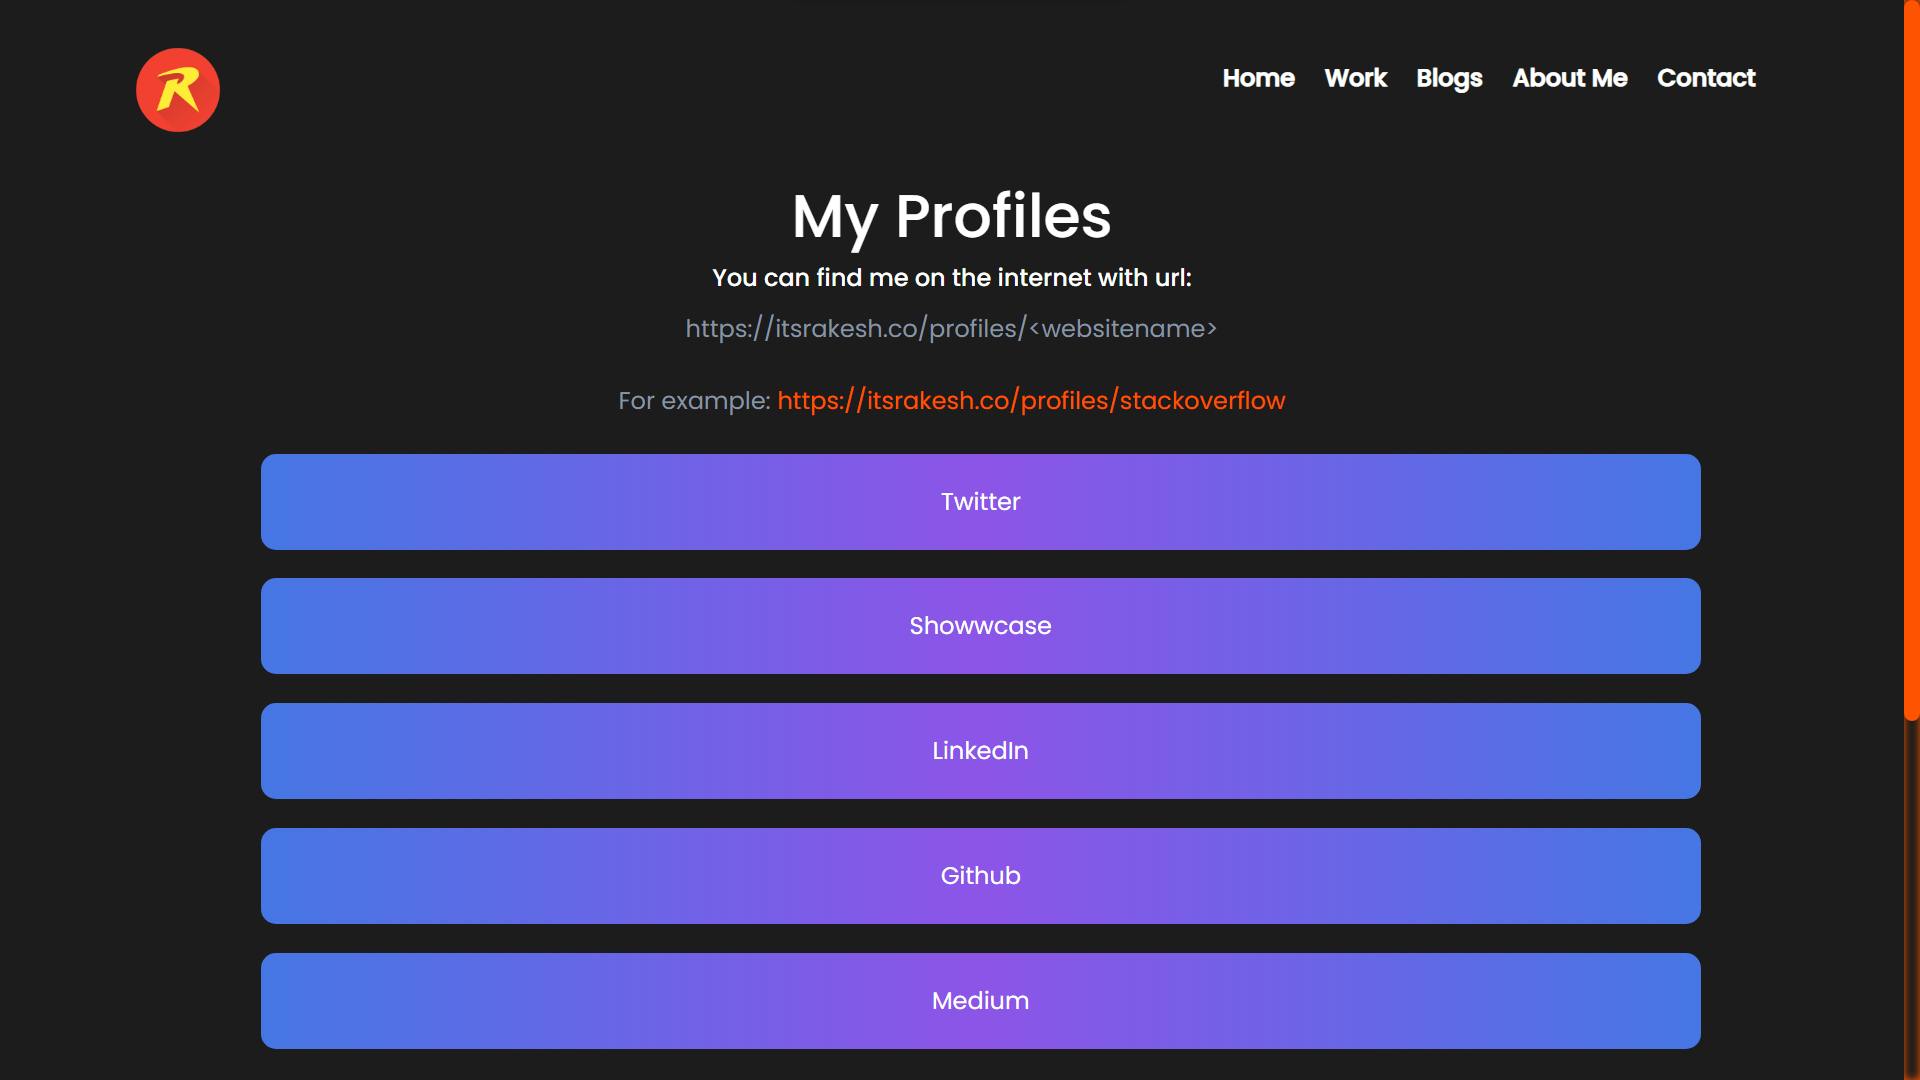
Profiles page contains links to some main profiles. And here's a cool thing - You can find any online profile of me with the URL https://itsrakesh.co/profiles/<websitename>, and it will redirect you to my profile. For example, https://itsrakesh.co/profiles/twitter will redirect you to my Twitter profile.
Animations
This website doesn't have too many animations, just a few like those buttons on the home page, counting animations, etc. Most of these animations are inspired by the "codepen" community.
Loaders
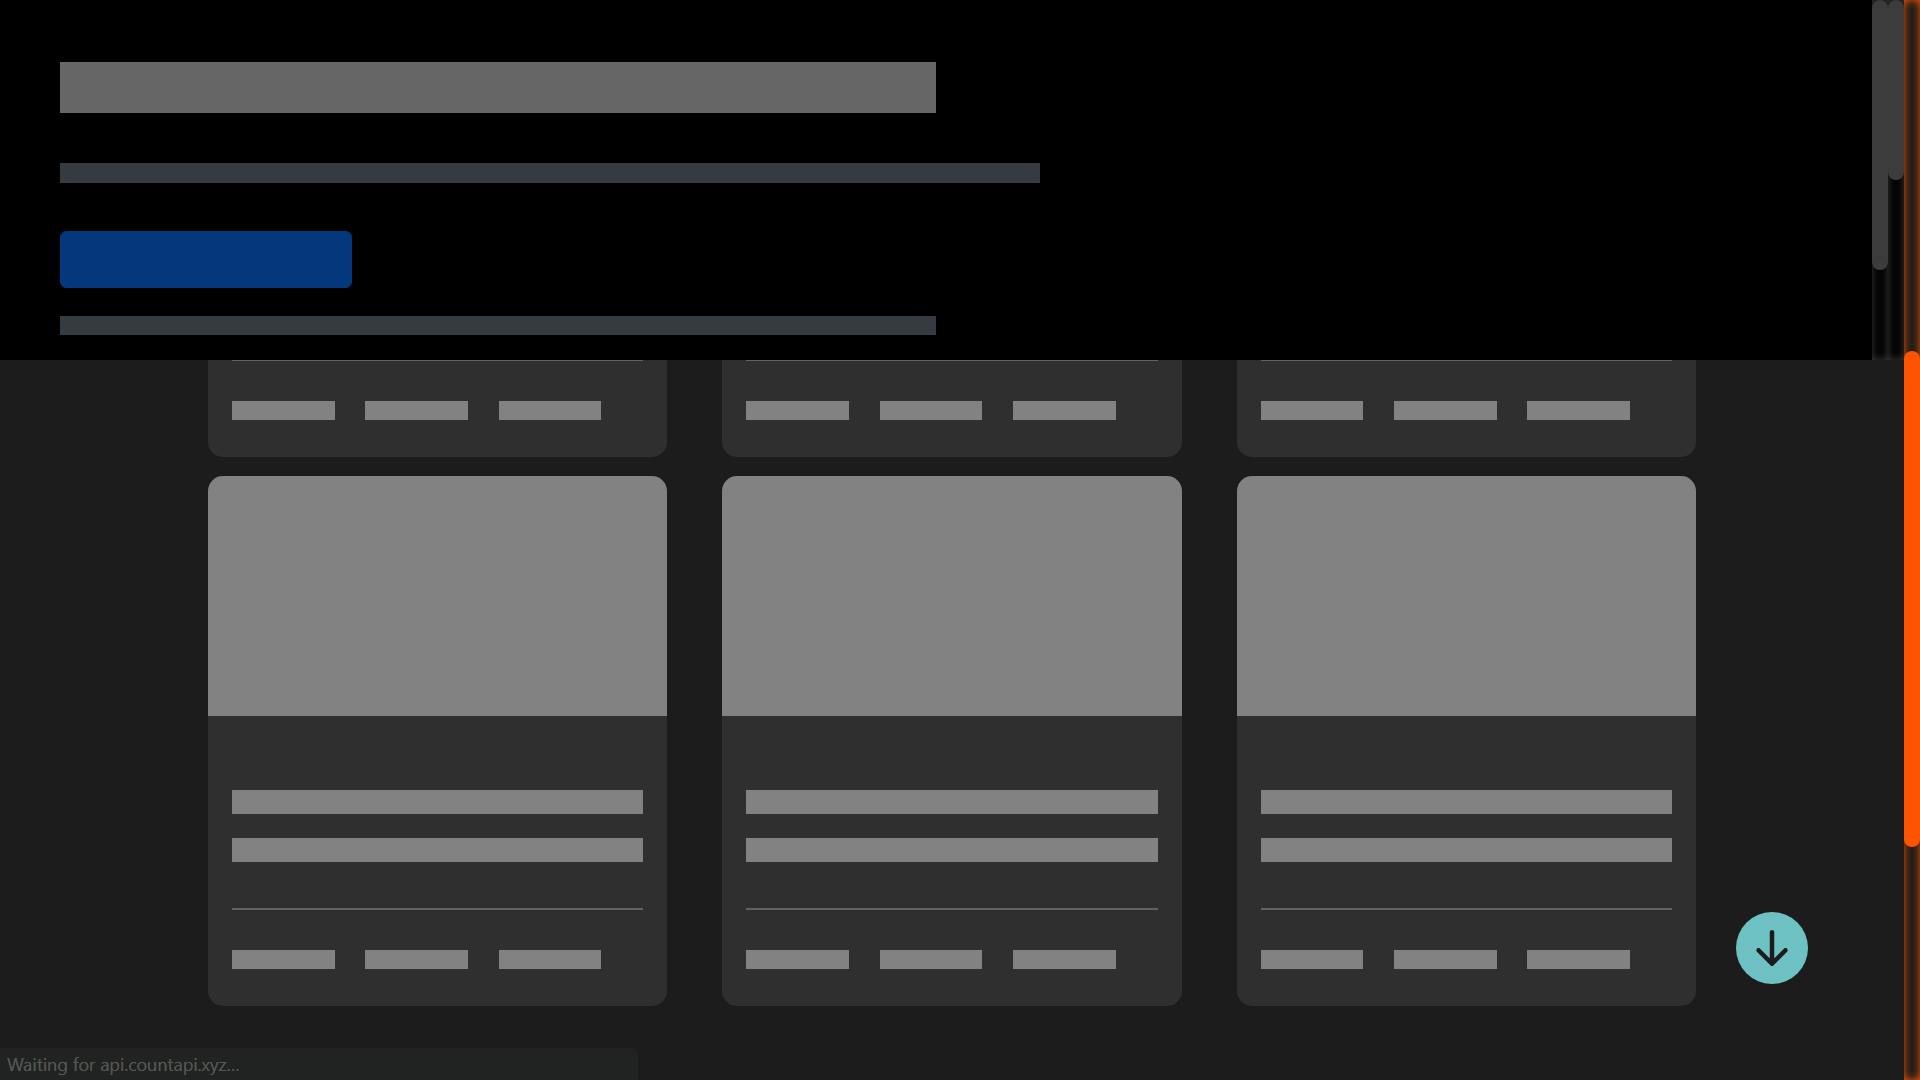
This website has many loading animations because they are great for the user experience.
There are different types of loaders like a single spinner, placeholders, and some creative loaders. I used spinner for page load and bootstrap's placeholder for placeholder animations like the above picture.
Page load animation? - There is a feature in React called "Code-Splitting" which means the browser loads only files that are required. While the browser loads the files you can use that waiting time to show some animation instead of a blank page.
Here's how to do it:
import { lazy } from 'react';

const Home = lazy(() => import('./pages/Home/Home'));

...
<React.Suspense fallback={<LoadingSpinner />}>
     <Routes>
          <Route path="/" element={<Home />} />
     </Routes>
</React.Suspense>
...
Analytics
There is a visits count in the footer section of the website. I used CountAPI to count the number of times this website has been visited.
I also used Google Analytics even though not needed :). I used it to learn GA.
Search consoles
Finally, I submitted my website to Google search console and Bing webmaster tools to get indexed on search engines even though not needed :). But these tools help to find issues with your website.
Challenges I ran into
Apart from those common errors every developer experiences, I struggled to find a good design, color combinations, layout, etc. I spent(wasted) a whole day figuring out a simple issue with the blogs page to avoid duplicates. Most of the challenges I faced are only with the frontend because there is not much to do with the backend, it's just a simple RESTApi.
Things I learned
This is my first portfolio website so I learned so much throughout building it. Not only technical things but also how to be consistent, how to design from a user point of view, how to mix different colors etc. Throughout the building, I made a lot of googling, so I learned how to solve an issue by just googling, what are the right places to find solutions, how not to waste time, etc. I also used StackOverflow very effectively that I don't even get a chance to ask a question(Asking question on StackOverflow is still my dream).
How you can have a portfolio website if you are not into web dev?
Now, if you want a portfolio and you are not a web developer or you are not a frontend person then you can just use some online no-code tools like wix, WordPress, etc.
And if want a simple page, there are some great websites
Here are a few alternatives I know:
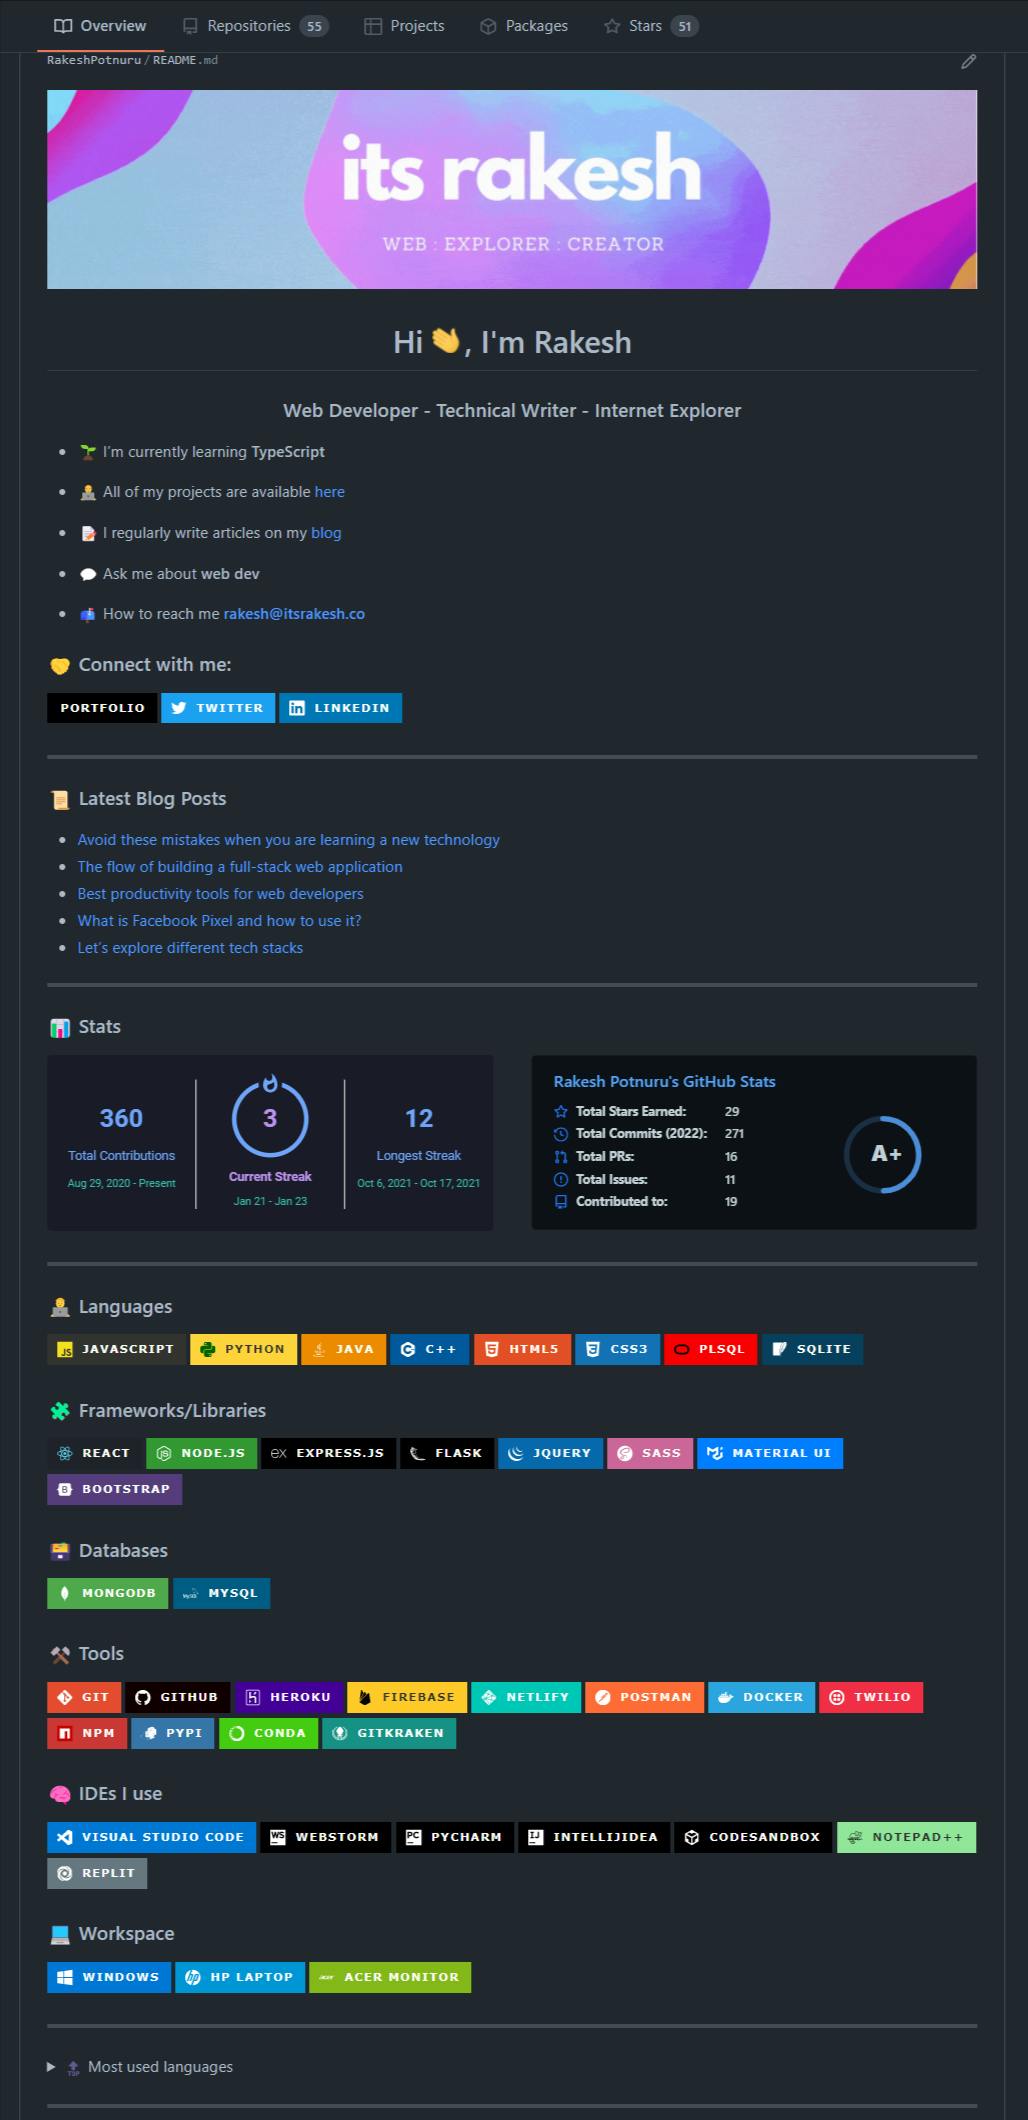
1. Github profile #
You can create a great-looking profile with Github. For example, here's mine - Github
2. Peerlist #
Peerlist is great for anyone. It gives you a nice profile page where you can include all about yourself, your work, your blogs, projects, etc. (DM me on Twitter for invite code if you want to skip the waitlist)
3. Showwcase #
Showwcase is a community for developers. And it has a cool feature that gives you a page and a free custom domain. What's this? - Basically, you include all your skills, projects, experience, tech stack, social links, profile photo and profile banner in your showwcase profile and showwcase makes a page with all these details and gives you a free domain. So you can just share that link to show your profile. Cool, right?
Here's mine - itsrakesh.showwcase.com

That's it! That's how I made it.
Feedback
Please give me feedback on how I can improve my website or the things you like in it. This helps me a lot. (To give detailed feedback there is a google form link in the footer or if it's simple feedback leave a comment below.)
Thank you 😇.